
Hey there! Thanks for stopping by!
Teaching students to edit writing can be a bit of a challenge. But, if we want our students to produce writing that others can read, teaching students to edit writing is essential! Let me help you with some fun ways to help your students to edit their own writing!

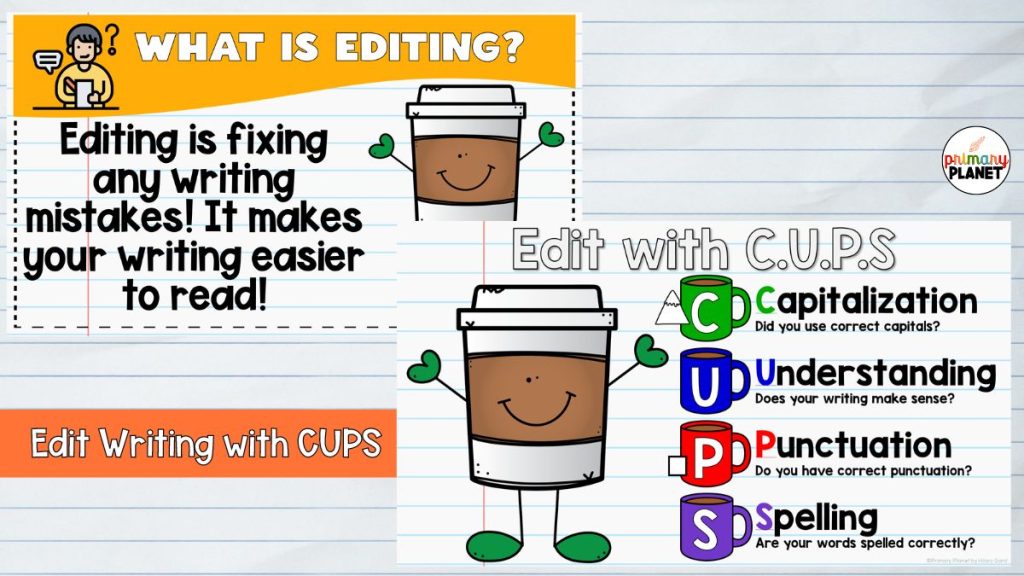
Edit Writing with C.U.P.S.
Teaching your students to edit their writing is an ongoing process. We use C.U.P.S. to teach editing. We introduce CUPS pretty early in the year and use this acronym all year long to help our students to edit their writing. We also use some visual symbols to help our students remember to capitalize (a mountain) and to put an ending punctuation mark (a box at the end of the sentence).

What is CUPS?
C- Capitalization
U- Understanding (does your writing make sense?)
P- Punctuation
S- Spelling
I teach editing with mini-lessons and LOTS of practice! I start by editing my morning messages. I have a CUPS checklist laminated next to my easel where I write my message (or, I have the CUPS checklist on the slide where I type my morning message…slowly moving toward more digital in the classroom)! We quickly use CUPS to edit my morning message if need be.
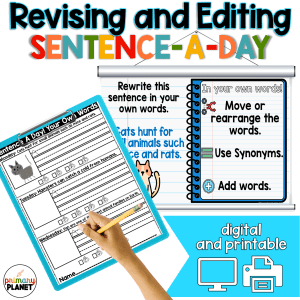
Editing and Revising Sentence a Day includes mini-lessons, teacher lesson plans, projectable anchor charts, and both printable and digital student pages for editing and revising all in one place! Teach these 2 writing skills in just minutes a day!
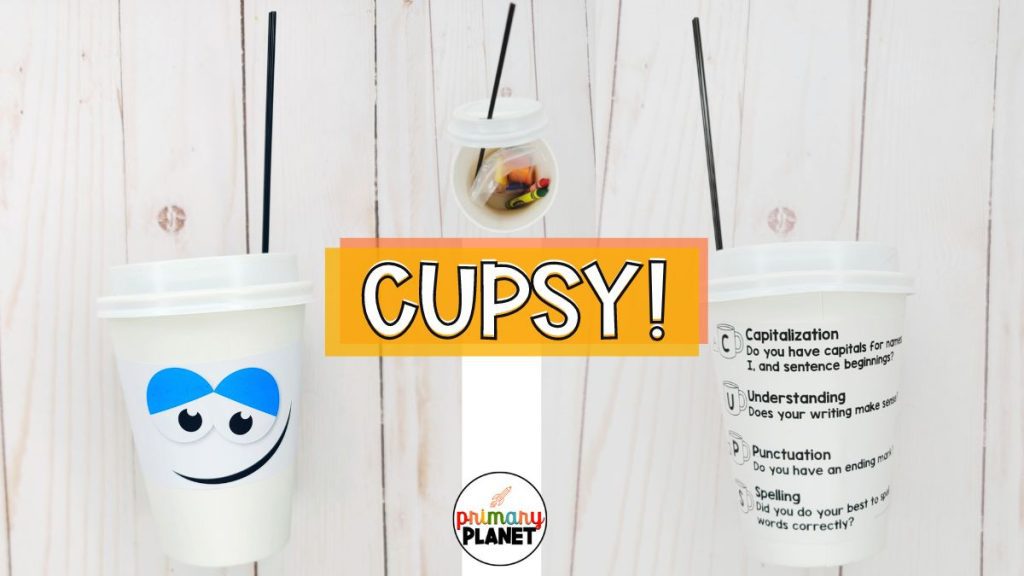
Edit Writing with CUPSY!
To help students remember CUPS and make a super fun (and handy) craft we make CUPSY! CUPSY is actually a decorated coffee cup. He or she becomes our writing mascot!
I learned about using CUPS to edit writing while doing my Orton-Gillingham training. I received my training through IMSE and we learned a lot about using a multi-sensory approach to teaching reading. I don’t know about you, but when I hear multi-sensory, I know that “stuff” is going to be involved!
So, CUPSY is a cute way to remember the C.U.P.S. editing acronym, but also a handy place to store some of the items needed for the multi-sensory approach! Math tiles for manipulating letter sounds, a small container of playdough for manipulating letter sounds, red and green crayons for practicing word writing, and a coffee stirrer for segmenting syllables all fit inside these adorable coffee cups!
CUPSY can be made in a variety of ways, but the easiest way is to use labels!
You will need (these are Amazon Links. If you purchase anything through these links I will receive a small commission at no cost to you! Thanks so much!):
- CUPS checklist printed onto a 4×3 label
- CUPSY face printed onto a 2X3 label (or have your students draw their own face onto the cup)
- Coffee Cups, Lids, and Stirrers (enough for your class)
Give each student a cup, a stirrer, a CUPS editing label, and a face label (or have them draw their own fact).
Before starting have your students put their names on the bottom of the cup.
Then, students stick the CUPS checklist label onto the back of the cup. They stick (or draw) the face label onto the front of the cup. Put any manipulatives you would like inside CUPSY. Then, add the lid and the stirrer through the hole in the top, and VOILA! CUPSY! He can sit on your student’s desks during writing time to help them remember to edit their writing!
Now, for the best part! You can get my super cute labels to make your own CUPSY for free! In my Free Resource Library, you will find them (amongst other fun freebies)! Sign up for my weekly newsletter to get access!
I hope your students like CUPSY! Sharing is caring. Pin the image below to share the wealth.

Thanks for reading! Happy Teaching,